Today’s featured blogger for my Summer Blogger Blitz is Ann Marie from White House Black Shutters. I love her blog! She speaks straight from the heart, is a creative spirit, and talented blogger. Today she has a great tutorial for us featuring chalk paint on fabric! Please welcome Anne Marie!
Hi everyone, my name is Ann Marie and my site is White House Black Shutters. I've always been amazed at Kim's creativity and projects! She is funny, sweet, and just a genuine person. The kind that you feel lucky to have met (and shared a room with). And she’s GORGEOUS!
 yes, that's me with the creepy eyes, all the way to the right.
If I had to pick a style, I'd say mine is modern, meaningful vintage.
We live in a 75 year old home with lots of charm and are working on updating it during weekends and nap time (I have three little ones three and under).
I decorate with only the stuff I love, and am on a mission to de-clutter and get rid of the rest. I shop mostly second hand, so sometimes that can be a lesson in patience. ;)
Most of all, I LOVE color. But my house is really neutral. Why did I do that? I'm taking my house back and injecting happy pops of color all over the place. I think that's why I love this project so much!
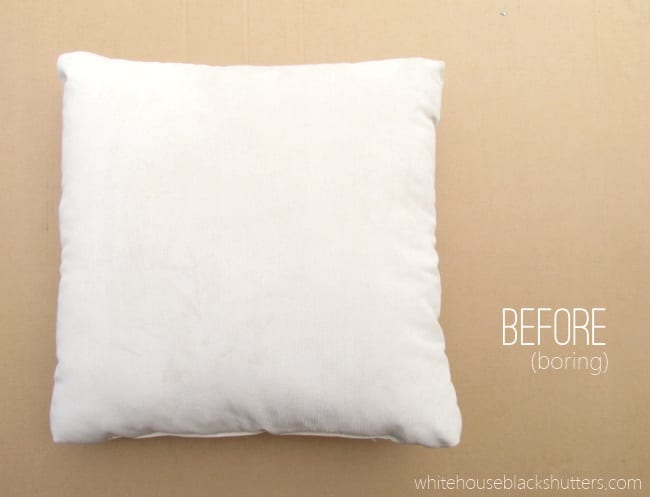
I had these two cream pillows I had bought from a garage sale for $1 each. They were nice. But with kids in the house, they are gonna get dirty.
I needed color in my new family room, so why not give them a little bit of happy?
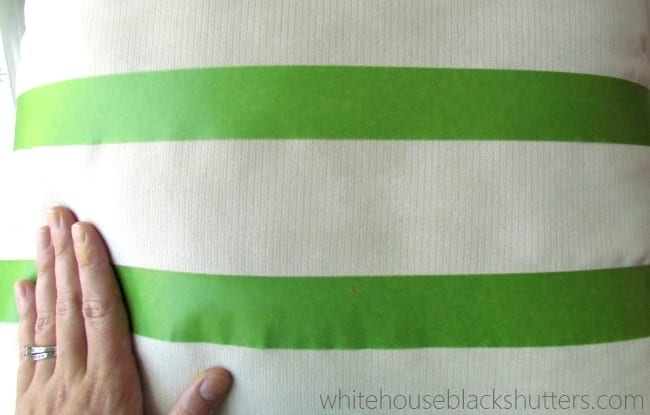
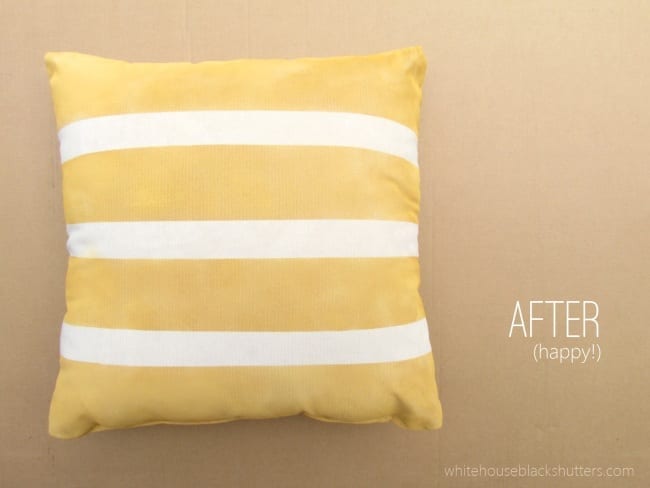
Apply some painter's tape to your pillow. Working with an already sewed pillow adds a nice bowed touch to the stripes. I didn't measure either. Imperfection is an art. :)
Carry the tape over slightly to the back, but don’t cover both sides.
 I wanted to try chalk paint because I heard it works well on fabric and I don’t like crunchy pillows. I used my Annie Sloan chalk paint sample from Haven in "Arles".
Dip into the paint pot ever so slightly, and swirl and tap the brush into the lid.
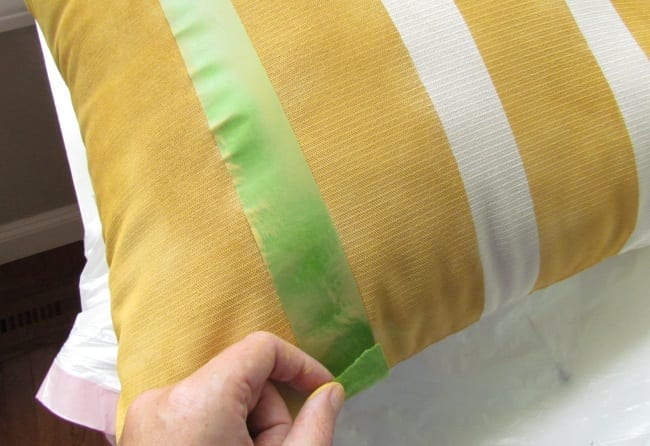
Paint away from the tape in a soft, swirling motion. As soon as you're done with the section, grab the tape,
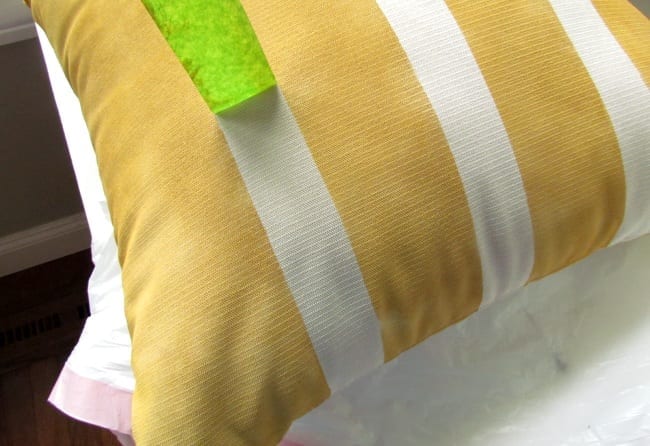
and peel!
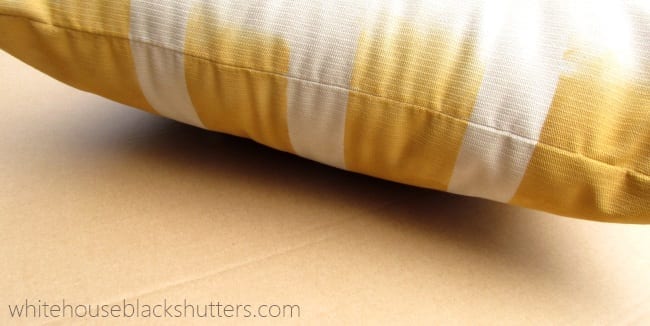
Let one side dry before you start the other. Look at that beautiful fading!
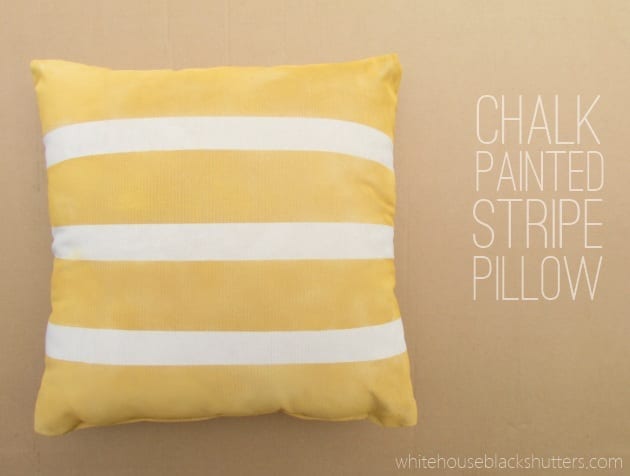
I think my pillows are happy too. Be gone, beige!
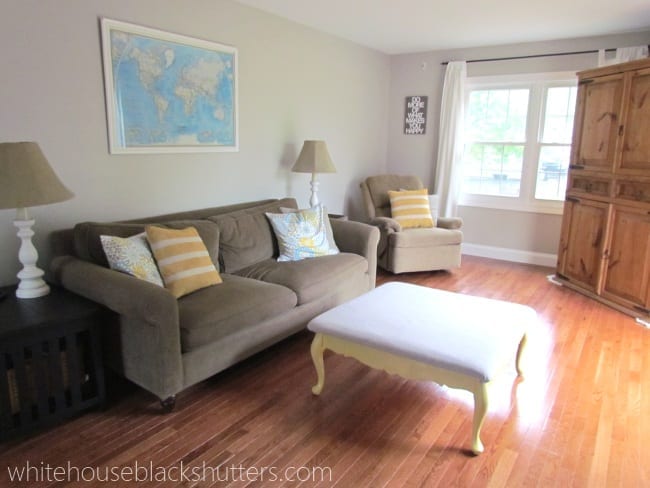
and here's the pillow hanging out with its garage sale pillow friend, on my free RH couch. ;)
Be sure to check out the rest of our family room makeover. You won't believe the before and after!
We installed the hardwood flooring ourselves, and almost everything furniture and decor-wise was second hand. The total was around $2700 to finish the whole room, and $230 for all the furnishings and decor.
Along with the family room remodel, we recently built a foyer from scratch,
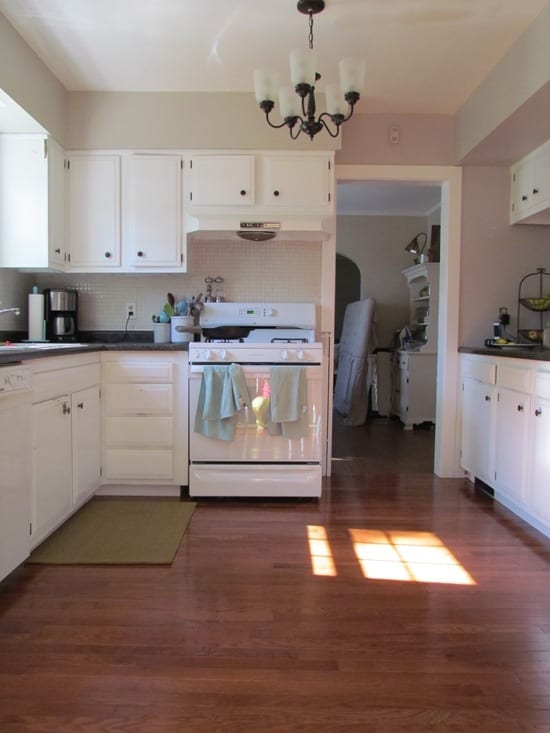
and refreshed our kitchen in the remodel.
It used to be dark and gross, with green appliances and 70s laminate flooring!
My most popular post of all time is a homemade all-natural baby wipes recipe, which can also be used as makeup remover wipes! Adjust the recipe a bit, and bam! You've got cleaning wipes.
I also like iced coffee. Maple Iced Coffee. Cold brewed and with coffee cubes. You have to try this one!
Come visit me at WHITE HOUSE BLACK SHUTTERS, kick up your feet, and we'll have a bonfire.

I'll make the margaritas. How do you want yours? ;)
Thanks for having me, Kim!
Anne Marie
Join Sand & Sisal on FACEBOOK, TWITTER, PINTEREST, G+ or SUBSCRIBE.





Those pillows are fab and I had no idea that you could use chalk paint on fabric. I cannot believe how smooth your lines are! Is it crunchy?
ReplyDeletethanks, Megan! When you run your hand along the pillow, you do notice a difference in texture, but it's not crunchy. More like the texture of velvet where it's painted?
DeleteI was surprised at how smooth the lines were too! I don't know if it was the tape or the combo of good paint, a good brush, and the tape. I had absolutely no bleeding (only a smudge that was my fault).
Great idea painting the pillows. My daughter's house is all brown and cream and neutral, too and now we are going to inject some pops of color now that she wants it.
ReplyDeletethanks, Kim! I'm sure this would work perfectly. If you check out our family room, this room was the exact same way: creams, black, white, browns. Way too neutral! Colors are so much happier. Have fun refreshing the room!
DeleteWow, I WILL try this soon!
ReplyDeletetreasiagh,
DeleteIt really was SO easy to do! I spent more time arranging the tape than I did painting it. I'm going to tackle my coffee table during naptime. ;)
good luck!
Great Job on the pillows! Isn't that chalk paint fabulous? I love it and I agree with the previous comment, how did you keep your lines so straight!? Nice job chicky :) PS. your makeovers are beautiful by the way.
ReplyDeleteJessica,
DeleteIt really is! Now I see what all the hype is about. I can't wait to try it on furniture (and maybe get more colors)!
Ha! I totally eyeballed it, so in real life, they're probably not so straight! I know they're not even, but I wanted them to be a little imperfect. ;) The paint, good brush, swirling technique, and tape combo gave me no bleed, so that helped.
THANK YOU! Coming from you, girl, that is a HUGE compliment!
Love this! Great job, Ann Marie!
ReplyDelete-Erin @ DIY On the Cheap
aww thanks, Erin! It was a fun project. :)
DeleteLove the pillow & Ann Marie!!!
ReplyDelete